
How to Create Professional Presentation Videos in 2025
Professional presentation videos in 2025: setup, recording workflow, editing standards, and distribution practices for business communication.
On this page
Creating high-quality presentation videos requires more than just recording your slides—it demands intentional planning, the right tools, and a clear strategy. Whether you're an educator, marketer, or business professional, this guide will help you produce polished videos that engage your audience and deliver your message effectively.
How to Make a Great Video Presentation
A great presentation video starts with preparation. Even the most advanced tools can't compensate for poor lighting, distracting backgrounds, or unclear audio. Here’s how to set the foundation for success:
Prioritize Lighting Setup for Clear Visuals
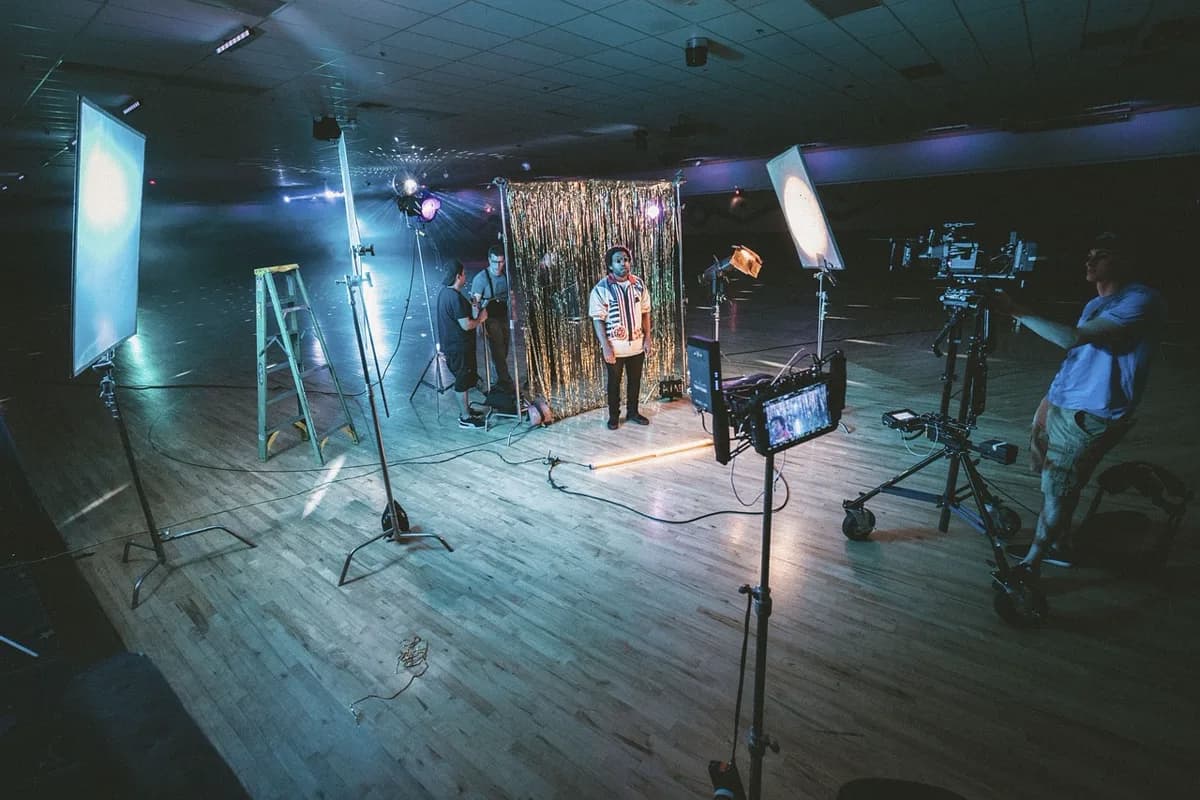
Lighting is one of the most overlooked elements in video production. Poor lighting can make your face look washed out or create harsh shadows, making it harder for viewers to focus on your message. Use soft, diffused lighting to illuminate your face and workspace. Avoid direct overhead lights, which can create unflattering shadows. For a natural look, position your light source at a 45-degree angle to your face.
Example: A local church might use a ring light to ensure the pastor’s face is well-lit during weekly service recordings, while keeping the background slightly out of focus to avoid distractions.Position Your Webcam at Eye Level
When recording, your webcam should be at or slightly below eye level to create a natural, engaging framing. A camera placed too low can make you look disinterested, while one too high might feel awkward. Use a stand or stack books to adjust the height as needed.
Tip: If you’re using a laptop webcam, consider investing in an external camera for better quality. Many creators use devices like the Logitech C920 or C922 for professional results.Use Reliable Audio Sources to Avoid Background Noise
Clear audio is critical for viewer engagement. Background noise—whether from a noisy room or a poor microphone—can make your video feel unprofessional. Invest in a directional microphone or use the built-in mic on a laptop with noise-cancelling features. Record in a quiet space and test audio levels before starting.
Example: A product launch team might use a lapel microphone to ensure their speaker’s voice is clear, while a remote team might use a USB mic to avoid the echo of a shared workspace.Clean Your Digital Workspace to Minimize Distractions
A cluttered background can distract viewers from your message. Keep your workspace tidy, and use a plain background or a branded backdrop for a professional look. If you’re recording slides, ensure they’re formatted consistently and free of distracting animations or text.
Start Recording Your Presentation Video
Once your setup is optimized, the next step is to begin recording. A reliable screen recorder with editing tools can streamline the process, especially for non-experts.
Choose a Screen Recorder with Built-in Editing Tools
Screen recording software like OBS Studio or Zoom can simplify the process by allowing you to record your screen, webcam, and audio simultaneously. Look for tools that let you edit directly within the app—trim clips, add transitions, or adjust audio levels before exporting.
Tip: If you’re creating training videos for an online course, a tool like Camtasia might be ideal for its intuitive editing interface and support for adding captions.Use a Teleprompter to Stay on Track
A teleprompter helps you maintain eye contact with your audience while reading from a script. This is especially useful for longer presentations or when you need to deliver a precise message. If you don’t have a physical teleprompter, many screen recorders offer virtual teleprompter features that scroll text on your screen.
Example: A marketing team preparing a product launch explainer video might use a virtual teleprompter to ensure they speak smoothly without reading from notes.Test Audio and Video Settings Before Recording
Always conduct a test run to ensure your settings are correct. Check for background noise, adjust brightness and contrast, and confirm that your microphone and camera are working properly. This step can save you from redoing recordings later.
Edit Your Video Recording
Editing is where your raw footage becomes a polished final product. Even a well-recorded video can feel uneven without careful trimming and refinement.
Trim, Split, or Delete Clips for a Polished Final Product
Remove unnecessary pauses, repeated words, or errors by trimming clips. Split longer sections into shorter segments for better pacing. If you made a mistake during recording, delete the clip and re-record the section.
Tip: For a YouTube audience, shorter videos (5–10 minutes) tend to perform better, so consider splitting longer presentations into bite-sized segments.Switch Between Webcam, Slides, and Split-Screen Layouts
Many tools allow you to switch between different camera angles, slides, and split-screen views. This can help you highlight key points or demonstrate processes visually. For example, you might show a slide with data while speaking, then switch to a split-screen to compare two products.
Add Background Music and Brand Elements
Background music can enhance the tone of your video, but choose something subtle that doesn’t overpower your voice. Add brand elements like logos, color schemes, or subtitles to reinforce your identity.
Example: An online course creator might include a branded watermark in the corner of their videos to build recognition for their brand.Share Your Video Presentation
The final step is to distribute your video to the right audience. Optimizing your video for different platforms and formats ensures it reaches the people who need it most.
Optimize Video Length and Format for Different Platforms
Different platforms have different preferences. YouTube favors longer, high-quality videos, while LinkedIn and Twitter work well with shorter, punchy clips. Use tools like HandBrake or Adobe Media Encoder to convert your video into the preferred format for each platform.
Tip: If you’re sharing a training video with a remote team, consider exporting it in a format that’s easy to download and watch offline.Use Captions or Transcripts for Accessibility and SEO
Captions make your video accessible to viewers who are deaf or hard of hearing, while transcripts improve search engine visibility. Many screen recorders and editors (like dcast.tv) offer automatic captioning tools, though you may need to review or edit them for accuracy.
Example: A product launch team might add captions to their explainer video to reach a wider audience, including non-native speakers.Promote Your Video Through Multiple Channels
Share your video on your website, social media, and email newsletters. Consider embedding it in your blog posts or using it as part of a webinar. For businesses, dcast.tv’s branded portals can help you organize and distribute videos to your audience efficiently.
FAQs About Creating Presentation Videos
What if I don’t have a professional camera?
You don’t need a high-end camera to create a great video. A smartphone or laptop webcam can produce quality results if you optimize your setup. Use a ring light for better lighting, and position your camera at eye level to create a natural frame.
How do I improve my video’s engagement?
Engagement depends on clear visuals, concise messaging, and a smooth flow. Use visuals to highlight key points, keep your message focused, and avoid long, rambling sections. Regularly test your videos with a small audience to identify areas for improvement.
Can I use dcast.tv for screen recording and editing?
dcast.tv is a white-label video platform that allows businesses to manage live streaming and on-demand video content. While it doesn’t offer screen recording tools, it can host, distribute, and monetize your video once it is recorded and edited elsewhere. For organizations needing consistent video workflows, dcast.tv provides a scalable solution.
Final Thoughts
Creating professional presentation videos is a blend of preparation, the right tools, and a clear strategy. By focusing on lighting, audio, and setup, you’ll lay the groundwork for a polished final product. Whether you’re producing training modules, explainer videos, or internal team updates, the principles outlined here will help you deliver your message effectively.
Remember, the goal isn’t just to record a video—it’s to create content that resonates with your audience and supports your objectives. With the right approach, even a simple screen recording can become a powerful tool for communication and engagement.
Related reading
Perguntas frequentes
What if I don’t have a professional camera?
You don’t need one. A smartphone or laptop webcam produces good results when you optimize the setup — use a ring light for even lighting and place the camera at eye level for a natural frame.
How do I improve my presentation video’s engagement?
Lead with clear visuals, keep the message concise, and maintain a smooth flow. Highlight key points with on-screen visuals, cut rambling sections, and test with a small audience to find what to tighten.
Can I use dcast.tv for a presentation video?
dcast.tv is a white-label video platform for live streaming and on-demand hosting. It doesn’t record or edit your slides, but once your video is recorded and edited it can host, distribute, and monetize it for consistent workflows.
dcast-team
Professional video streaming experts helping creators succeed.
Artigos relacionados
Comece hoje o seu negócio de vídeo
Junte-se a milhares de criadores que monetizam seu conteúdo com a DCAST.
Comece grátis