

Audio Setup for Live Streaming: Complete Guide
Complete guide to audio for live streaming: USB vs XLR mics, mixers, cables, OBS processing, troubleshooting. Get clear sound on dcast.tv
On this page
Introduction to Live Streaming Audio
High-quality audio is a critical component of live streaming that can significantly enhance the viewer experience and the overall success of your content. Poor audio quality can lead to a loss of viewers and negatively impact engagement. Common audio issues such as background noise, echo, and distortion can distract from the content and make it difficult for viewers to understand what is being said. Ensuring clear, crisp audio is essential for maintaining viewer interest and ensuring that your message is conveyed effectively.
Choosing the Right Microphone
USB vs. XLR Microphones: Pros and Cons
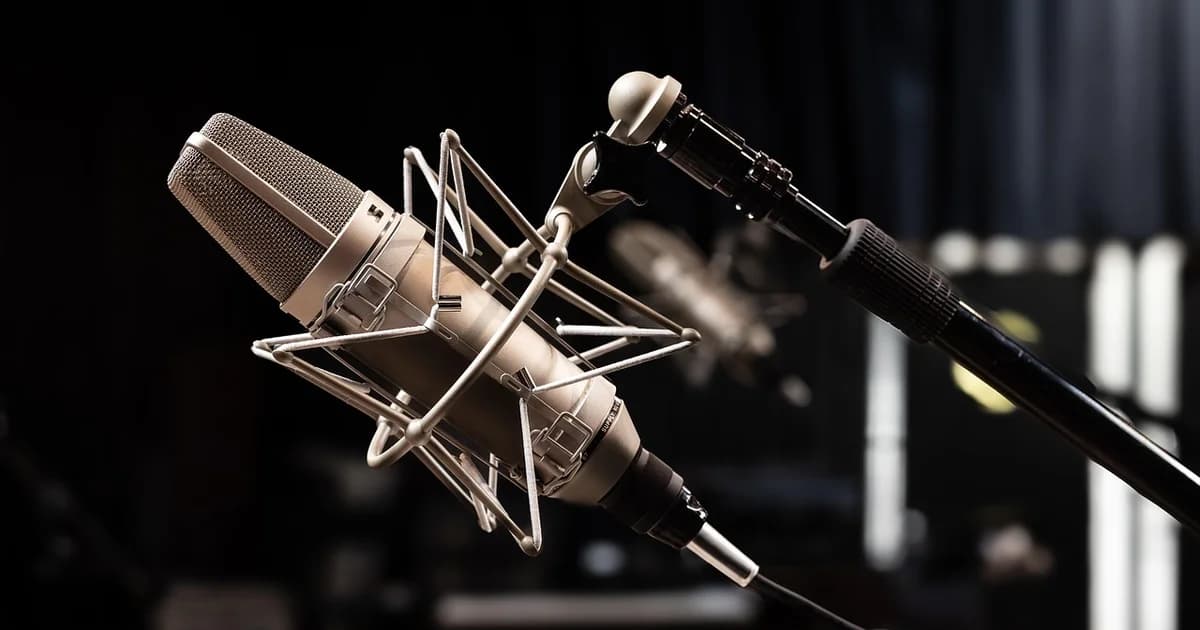
When selecting a microphone for live streaming, you have two primary options: USB and XLR microphones. USB microphones are plug-and-play devices that connect directly to your computer via a USB cable, making them easy to set up and use. They often come with built-in preamps and software for basic audio processing, such as equalization and compression. XLR microphones, on the other hand, require an audio interface or mixer to connect to your computer and generally offer higher quality sound due to their more robust construction and better signal-to-noise ratio.
Factors to Consider When Selecting a Microphone
Several factors should be considered when choosing a microphone:
- Frequency Response: This determines the range of frequencies the microphone can capture. A microphone with a wide frequency response will capture more of the audio spectrum, resulting in a more natural sound.
- Sensitivity: This measures how well the microphone picks up sound. Higher sensitivity can be beneficial in noisy environments, but it can also lead to distortion if the sound is too loud.
- Polar Pattern: This describes the microphone's sensitivity to sound from different directions. Common patterns include cardioid (directional), omnidirectional (captures sound from all directions), and bidirectional (captures sound from the front and back).
- Durability: XLR microphones are generally more durable than USB microphones, making them a better choice for long-term use.
Practical Example: Comparing Popular Microphones
- Blue Yeti USB Microphone: The Blue Yeti is a popular USB microphone known for its high-quality sound and four polar patterns (cardioid, stereo, bidirectional, and omnidirectional). It also includes a built-in headphone jack with adjustable volume control, making it easy to monitor your audio.
- Shure SM7B XLR Microphone: The Shure SM7B is a high-end XLR microphone widely used in professional studios and broadcasting. It offers excellent frequency response and sensitivity, making it ideal for voiceovers, podcasts, and live streaming. However, it requires an audio interface or mixer to connect to your computer.
Understanding Audio Mixers
Basic Functions of an Audio Mixer
An audio mixer is a device that combines multiple audio inputs into one or more output channels. It allows you to adjust the volume, balance, and equalization of each input, as well as add effects like reverb and compression. Mixers come in various forms, from simple 2-channel mixers to complex multi-channel consoles used in professional studios.
Why and When to Use an Audio Mixer
You might need an audio mixer if you are using multiple microphones, such as for interviews, panel discussions, or live performances. A mixer can help you balance the levels of each microphone, add effects, and route the audio to different outputs, such as speakers, headphones, and your streaming software.
Practical Example: Setting Up a Simple Mixer
Setting up a simple mixer for a multi-microphone setup involves connecting each microphone to a separate channel on the mixer and adjusting the levels and settings for optimal sound quality. Here’s a step-by-step guide:
- Connect the Microphones: Use XLR cables to connect each microphone to the corresponding input channels on the mixer.
- Adjust Input Levels: Use the gain knobs on the mixer to set the input levels for each microphone. Start with a low level and gradually increase until you achieve a clear, undistorted sound.
- Balance the Mix: Use the fader knobs to balance the volume levels of each microphone. Adjust the EQ settings to fine-tune the sound if needed.
- Route to Output: Connect the output of the mixer to your computer via an audio interface or directly if your mixer has a built-in USB interface.
- Monitor the Audio: Use the mixer’s headphone output to monitor the audio in real-time and make any necessary adjustments.
Audio Cables and Connectors
Types of Cables and Connectors
Audio cables and connectors play a crucial role in ensuring a reliable and high-quality audio setup. The most common types include:
- USB Cables: Used to connect USB microphones directly to your computer. They are convenient for their plug-and-play nature but can be susceptible to interference and signal degradation over long distances.
- XLR Cables: Used to connect XLR microphones to audio interfaces or mixers. They are balanced cables that provide a stable and reliable connection, reducing the risk of noise and interference.
- 3.5mm Cables: Often used for connecting consumer-grade headphones and speakers to your computer. They are less robust than XLR cables and should be used with caution in professional setups.
Importance of Proper Cable Management
Proper cable management is essential to prevent tangling, breakage, and interference. Use cable ties and clips to organize your cables, ensuring they are not too tight or too loose. Keep cables away from power sources and other electronic devices to minimize electromagnetic interference.
Practical Example: Using Balanced XLR Cables
Using balanced XLR cables can significantly reduce noise in your audio setup. Balanced cables have three conductors: two signal wires and a ground wire. This design cancels out any noise that might be introduced along the cable, resulting in a cleaner audio signal. Always use XLR cables with XLR microphones for the best performance.
Software Audio Processing
Basic Audio Processing Techniques
Software audio processing allows you to enhance the sound quality of your live stream by applying various effects and adjustments. Common techniques include:
- Equalization (EQ): Adjusts the balance of frequencies in your audio to improve clarity and sound quality.
- Compression: Reduces the dynamic range of your audio, making quiet sounds louder and loud sounds quieter. This helps maintain a consistent volume level.
- Gating: Removes background noise by muting the audio when it falls below a certain threshold.
Tools and Software for Live Audio Processing
Several tools and software are available for live audio processing:
- OBS Studio: A popular open-source software for live streaming that includes basic audio processing capabilities. You can use it to adjust EQ, apply effects, and manage audio sources.
- Audacity: A free, open-source audio editor that can be used for offline editing and processing. While not designed for live streaming, it is useful for preparing audio clips and effects.
Practical Example: Using OBS Studio for Basic EQ Adjustments
To use OBS Studio for basic EQ adjustments, follow these steps:
- Add an Audio Source: In OBS Studio, go to
Sources>Add>Audio Input Captureto capture the audio from your microphone. - Open the Audio Mixer: Click on the
Audio Mixertab to open the audio mixer panel. - Enable EQ: Right-click on the audio source in the mixer and select
Filter>Equalizerto enable EQ. - Adjust EQ Settings: Use the sliders in the EQ settings to adjust the frequency response. For example, you might boost the mid-range frequencies to make your voice clearer.
- Preview Changes: Use the
Previewbutton to hear how the changes affect your audio before going live.
Audio Levels and Monitoring
Proper Setting of Input and Output Levels
Setting the input and output levels correctly is crucial for maintaining audio quality during live streaming. Input levels should be set so that the audio is clear and undistorted, while output levels should be adjusted to match the requirements of your streaming platform.
Importance of Monitoring Audio During Live Streams
Monitoring your audio during a live stream ensures that you are capturing and transmitting high-quality sound. It allows you to catch any issues early and make adjustments as needed. Always use a dedicated audio monitor or headphones to listen to your audio in real-time.
Practical Example: Using a Dedicated Audio Monitor
Using a dedicated audio monitor or headphones is essential for monitoring your audio during a live stream. Connect your monitor or headphones to your audio interface or mixer and listen to the audio as you stream. This will help you identify and correct any issues, such as feedback or distortion, before they become a problem.
Common Audio Problems and Solutions
Troubleshooting Common Issues
Several common audio issues can affect the quality of your live stream. These include:
- Feedback: Occurs when the microphone picks up sound from the speakers, creating a feedback loop. To prevent feedback, ensure that the microphone is not positioned too close to the speakers and that the speakers are not pointed directly at the microphone.
- Echo: Can occur in large, empty rooms where sound bounces off walls and surfaces, creating an echo effect. Use acoustic treatments like rugs, curtains, and foam panels to absorb sound and reduce echo.
- Distortion: Caused by overloading the audio signal, resulting in a harsh, distorted sound. Ensure that the input levels are set correctly and avoid pushing the microphone too hard.
Tips for Maintaining Audio Quality During Live Streams
- Use High-Quality Equipment: Invest in good quality microphones, mixers, and audio interfaces to ensure a reliable and high-quality audio setup.
- Proper Placement: Position your microphone and speakers carefully to avoid feedback and echo. Use a pop filter to reduce plosive sounds (e.g., “p” and “b” sounds).
- Regular Maintenance: Keep your equipment clean and in good working order. Check cables and connections regularly to prevent issues.
Practical Example: Setting Up a Noise Gate
A noise gate is a useful tool for reducing background noise during live streams. When the audio signal falls below a certain threshold, the noise gate mutes the audio, effectively removing background noise. To set up a noise gate in OBS Studio:
- Add an Audio Source: Capture the audio from your microphone as described earlier.
- Open the Audio Mixer: Go to the
Audio Mixertab. - Enable Noise Gate: Right-click on the audio source and select
Filter>Noise Gateto enable the noise gate. - Adjust Threshold: Set the threshold level so that it mutes the background noise without affecting your voice. Adjust the
AttackandReleasesettings to control how quickly the noise gate opens and closes.
Comparison Table: USB vs. XLR Microphones vs. Software Processing
| Feature | USB Microphones | XLR Microphones | Software Processing |
|---|---|---|---|
| Connectivity | USB cable | XLR cable | Software interface |
| Ease of Setup | Plug-and-play | Requires mixer | Easy to configure |
| Audio Quality | Good | Excellent | High |
| Flexibility | Limited | High | High |
| Price | Affordable | Expensive | Free to paid |
| Durability | Low | High | N/A |
| Signal-to-Noise Ratio | Low | High | N/A |
| Use Case | Simple setups | Professional | Advanced processing |
Conclusion
Setting up a professional audio setup for live streaming involves choosing the right microphone, understanding the role of audio mixers, managing cables and connectors, and using software for audio processing. By following the guidelines and practical examples provided in this guide, you can ensure that your live stream audio is clear, crisp, and engaging for your audience.
Related on DCAST: How adaptive bitrate streaming works · Streaming accessibility: captions · free creator tools.
Preguntas frecuentes
What is the difference between USB and XLR microphones?
USB microphones are plug-and-play devices that connect directly to your computer and offer easy setup with basic processing. XLR microphones need an audio interface or mixer but deliver higher sound quality and better durability.
Why should I use an audio mixer for live streaming?
A mixer lets you combine multiple audio inputs, adjust levels and settings, and add effects. It is essential for managing multi-microphone setups and keeping your output balanced and clean.
How do I set proper audio levels for a live stream?
Set input levels so audio is clear and undistorted, then match output levels to your streaming platform's requirements. Monitor with headphones in real time and adjust as needed.
What are common audio issues and how do I fix them?
Feedback, echo, and distortion are the usual culprits. Keep microphones away from speakers to avoid feedback, add soft furnishings to reduce echo, and set input levels correctly to prevent distortion.
Can software improve my live stream audio?
Yes. Tools like OBS Studio and Audacity handle basic processing such as EQ and noise reduction, helping you clean up and enhance your stream's sound.
Herramientas gratis para este tema
dcast-team
Professional video streaming experts helping creators succeed.
Artículos relacionados


Comienza hoy tu negocio de video
Únete a miles de creadores que monetizan su contenido con DCAST.
Comienza gratis